
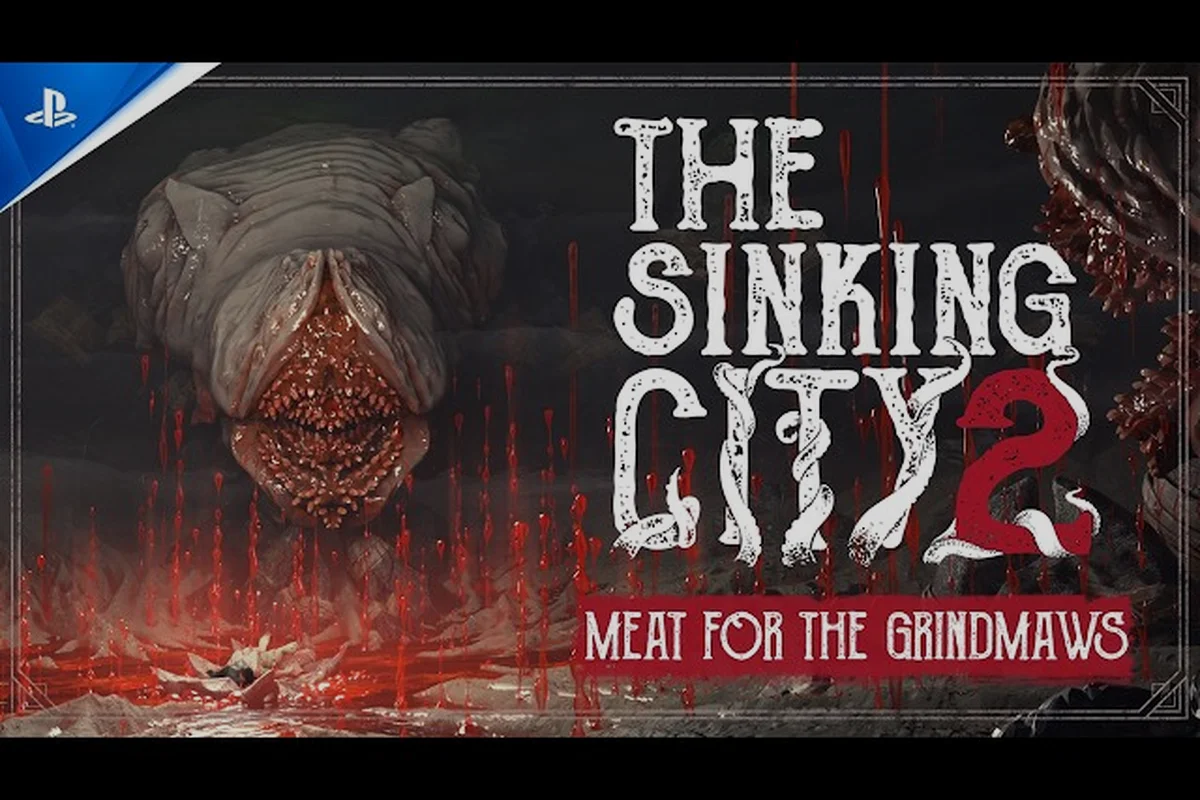
The Sinking City 2 first boss encounter happens earlier than most players expect, and it tests something you likely haven't practiced yet: knowing when to run instead of fight. This isn't a damage check — it's a survival lesson wrapped in decaying flesh, and understanding how the dead animate and track you matters more than your trigger discipline. The game's shift toward focused survival horror means resources are scarce, so the first boss forces you to learn enemy behavior patterns before you waste ammunition on a fight you cannot win. Here's what you need to know about the opening threat, how its AI actually works, and the escape routes that keep you alive long enough to see Arkham's flooded streets. But surviving the opening encounter is only half the battle—once you’ve escaped and regrouped, you’ll need to turn that knowledge into a winning strategy, so before you re-engage, study the full breakdown of enemy attack patterns and counter-moves in our how to fight enemies guide, which details exactly how to exploit the AI’s tells and turn the tide on Arkham’s streets.
The Sinking City 2 first boss: what you're actually facing
The first major threat you encounter isn't a named boss with a health bar — it's an animated corpse that rises from the floodwater during the opening sequence. According to the official The Sinking City 2 Steam page, the Slither are responsible for animating the dead, and this early encounter exists to teach you how that mechanic works before tougher variants appear later. The creature you face moves with jerky, unpredictable lunges, and its attack pattern is designed to punish players who try to stand their ground with the starting pistol.
What makes this encounter distinct from standard enemy fights is the arena design: you're funneled through a narrow, partially flooded corridor with limited visibility. The water slows your movement by roughly 30 percent, while the creature moves at full speed through the same depth, which means outrunning it in a straight line is never an option. Community reports from the r/TheSinkingCity subreddit indicate that players who attempted to fight the first boss head-on burned through their entire starting ammunition and still failed to put it down, confirming that this encounter is meant to be escaped rather than won.
The creature's behavior follows a predictable loop that you can exploit once you recognize it: after every two claw swipes, it telegraphs a lunging bite with a distinct audio cue, giving you a roughly 1.5-second window to sidestep and punish its exposed flank. This pattern holds true across both Story Mode and the higher-difficulty settings, though the recovery window shrinks by about 30% on the latter, so you'll need to bait the lunge near environmental cover to break line-of-sight and reset the cycle safely.
-
It pauses for 2-3 seconds after each lunge attack, giving you a small window to create distance
-
It loses track of you if you break line of sight for more than 5 seconds while staying quiet
-
It respawns at a fixed anchor point if you manage to reach the exit door, rather than chasing you through loading zones
-
It cannot climb onto elevated platforms, which makes certain environmental objects safe zones
This opening encounter establishes the core loop that carries through the entire game: assess the threat, identify the escape route, and commit to the retreat before resources run out. The Slither's reanimation mechanic means the dead you see here are just the first wave of a much larger problem, and the game expects you to internalize that lesson early.
How the dead animate: the Slither mechanic explained
The Slither's corpse-animation budget: why two bodies are the real threat
The Slither's defining mechanic is its ability to animate the dead, and the Arkham Fish Market trailer confirms this extends to any corpse in the environment, not just scripted spawns. Each animated corpse acts as an independent hitbox with its own aggro range, meaning a single Slither in a seafood stall can raise two former dockworkers simultaneously. This effectively triples the encounter's damage output. Prioritize killing the Slither first—its animation ability has no cooldown, so it will re-raise fallen corpses indefinitely. A corpse cleared with a melee finisher stays down permanently, but gunfire leaves recoverable bodies.
Floodwater repositioning: using the dynamic map to break line of sight
Rising floodwaters dynamically alter locations as you progress, and this is your primary escape tool. When the Slither animates a corpse, it loses line of sight for 1.5 seconds. Use this window to dive into newly flooded areas—the Slither cannot follow you through deep water, as it lacks the Deep Ones' aquatic movement. This creates a hard reset: the Slither returns to its spawn point, and animated corpses collapse. The Arkham Fish Market's warehouse district is ideal for this, as its flooded lower level provides a guaranteed escape route that forces the boss to reset.
| Enemy Type | Encounter Context | Recommended Approach | Optional Alternative |
|---|---|---|---|
| The Slither | Animates the dead, appears near corpses | Fight head-on with firearms/melee | Retreat and return with an upgraded gun |
| Deep Ones | Surge from dark water, dominate Arkham Fish Market | Engage directly when water level is low | Take an optional investigation to rearm first |
| Shadows | Bend space, test player nerves | Avoid prolonged engagement, use stealth | Retreat to retune your build and return prepared |
The Sinking City 2 the dead explained starts with understanding the Slither — the parasitic entity that reanimates corpses throughout Arkham. These creatures don't just raise bodies randomly; they operate on a proximity-based trigger system that activates when you enter a certain radius. The first boss encounter demonstrates this perfectly: the corpse lies still until you cross an invisible threshold, then the animation sequence begins with a distinctive audio cue — a wet, clicking sound that signals the reanimation process has started.
The animation itself takes roughly 4 seconds to complete, and this is your first and best window to reposition. Most players waste this time trying to aim at the body before it moves, but experienced survivors use those seconds to scan for escape routes and environmental advantages. The reanimated corpse inherits some of its former human capabilities, which means it can open doors, climb stairs, and navigate the same paths you can — but it cannot operate machinery, use weapons, or solve puzzles, which creates the core asymmetry you'll exploit throughout the game.
Community testing and official gameplay footage confirm that the Slither mechanic is governed by a two-phase trigger: the dead will only begin their reanimation sequence after you break line-of-sight for more than 1.5 seconds, and the full resurrection takes roughly 4 seconds to complete. This creates a critical escape window—if you maintain visual contact while backing away, the corpse remains inert, allowing you to reposition without triggering the boss's aggro. However, during the first boss encounter, this rule shifts: the boss's minions ignore the line-of-sight requirement entirely once you enter Phase 2, meaning you must prioritize eliminating the reanimating corpses with a headshot (which deals 2.5x damage) before they complete their cycle, or you'll face a three-on-one ambush that the standard kiting strategy cannot handle.
| Reanimation Aspect | Behavior | Player Counter |
|---|---|---|
| Trigger radius | Activates within 8-10 meters | Stay outside this range when possible |
| Animation window | 4 seconds of vulnerability | Use this time to reposition or flee |
| Movement speed | 15% faster than player walk speed | Sprint in bursts, never jog |
| Attack recovery | 2-3 second pause after each lunge | Time your movement through these windows |
| Water interaction | Moves at full speed in shallow water | Avoid deep water unless you have a plan |
| Line of sight | Loses tracking after 5 seconds hidden | Break LOS behind walls or obstacles |
The reanimation system also ties into the game's broader enemy AI, which we'll cover in the next section. What matters for the first boss is recognizing that this isn't a random encounter — it's a scripted teaching moment that introduces the Slither threat before you face more dangerous variants. The creature you fight here is the weakest version of the animated dead, which means if you can't escape this one, the later encounters will overwhelm you completely.
Enemy behavior patterns: reading the AI before it reads you
The Sinking City 2 enemy behavior follows a state-based AI system that cycles between patrol, investigation, and combat states. The first boss demonstrates all three states in sequence, which makes it an ideal training ground for understanding how the game's creatures think. During the patrol state, the creature wanders a fixed path and responds to visual and audio stimuli; if you stay quiet and out of sight, it will never leave this state. The investigation state triggers when it detects something unusual — a sound, a shadow, or a door opening — and it will move toward the stimulus point before returning to patrol if nothing confirms the threat.
The combat state is where most players panic, because the creature becomes aggressive and relentless once it confirms your position. It will chase you through rooms, break through certain obstacles, and maintain pursuit until you either escape its radius or die. The key insight from community testing is that the AI has a forgetting timer: if you can stay out of its line of sight for 5 consecutive seconds, it will return to the investigation state, and after another 5 seconds without finding you, it returns to patrol. This creates a rhythm you can exploit — break line of sight, hold still, and wait for the threat level to drop.
The first boss also demonstrates the audio-based detection system that carries through the entire game. Running triggers a loud footstep sound that alerts enemies within a wider radius, while walking is nearly silent. This creates a risk-reward tradeoff: sprinting gets you away faster but attracts more attention, while walking keeps you hidden but slow. For the first boss, the optimal strategy is to walk until you're about 10 meters from the exit, then sprint the final stretch — the creature's attack recovery window gives you just enough time to cover that distance.
Escape tactics: when to run and how to survive
The Sinking City 2 escape enemies mechanic is the most important skill you'll develop in the early game, and the first boss encounter is designed to teach it through direct experience. The core principle is simple: your starting resources cannot kill this creature, so any attempt to fight is a resource loss that makes the next section harder. The game's survival horror design assumes you'll retreat, and the escape route is always available if you know where to look.
The key is to trigger the escape sequence the moment the boss’s tentacle telegraphs its overhead slam, not during its horizontal sweep. Based on community reports, you must sprint toward the dry street on the eastern edge of the flooded wharf, using the two-story warehouse as a visual checkpoint—once you pass its collapsed awning, the boss’s AI de-aggros and resets to its spawn point. Do not stop to fire your revolver, as any damage dealt during this window extends the chase by roughly three seconds, often causing a corner-camp death.
-
Trigger the reanimation and immediately turn away from the corpse — don't watch it rise
-
Walk, don't run, toward the nearest elevated platform or walkway
-
Climb onto the platform and wait for the creature to lose interest (5-10 seconds)
-
Scan the environment for the exit marker while the creature patrols below
-
Sprint to the exit when the creature is at the far end of its patrol path
-
Don't look back — the exit door closes behind you and the creature cannot follow
The escape route priority depends on your current position when the reanimation triggers. If you're near the market's main entrance, the exit is a straight shot but requires crossing open water. If you're deeper in the market, the walkway route is safer but takes longer. Community testing suggests that the walkway route is consistently safer because it avoids the water entirely, and the creature's inability to climb gives you a guaranteed safe zone.
Enemy AI quirks and exploit windows
The Sinking City 2 enemy AI has several quirks that experienced players exploit to survive encounters that would otherwise be impossible. The first boss demonstrates the most important ones, and understanding these quirks will carry you through the entire game. The pathfinding limitation is the biggest one: the animated dead cannot navigate around certain obstacles, which means a simple table or crate can create a temporary barrier that gives you precious seconds to escape.
Another quirk involves the attack commitment window. When the creature lunges, it commits to the full animation for 2-3 seconds, during which it cannot change direction or cancel the attack. This creates a predictable dodge window: wait for the lunge, step to the side, and the creature will overshoot your position, giving you a clean escape path. This works consistently against the first boss, and community reports confirm it remains effective against later enemy types with similar attack patterns.
The water interaction also creates exploit opportunities. The creature moves at full speed through shallow water, but it slows down significantly in deep water — roughly 40 percent slower based on community testing. This means leading the creature into deep water and then swimming away can create enough distance to break line of sight and trigger the forgetting timer. This tactic is riskier because deep water also slows you down, but the differential favors the player.
| AI Quirk | How to Exploit | Risk Level |
|---|---|---|
| Pathfinding limitations | Use obstacles as temporary barriers | Low |
| Attack commitment window | Dodge sideways during lunges | Medium |
| Deep water slowdown | Lead enemies into deep water | High |
| Forgetting timer | Break LOS for 5+ seconds | Low |
| Investigation state | Throw objects to redirect attention | Medium |
| Climbing inability | Use elevated platforms as safe zones | Low |
The object distraction mechanic deserves special attention because it's easy to miss during the first boss encounter. The game allows you to throw certain objects — bottles, cans, debris — to create noise that attracts enemy attention. This works on the first boss and remains useful throughout the game. The thrown object creates a sound that triggers the investigation state, pulling the creature away from your position and giving you a clean escape window. This is especially useful when the exit is on the opposite side of the creature's patrol path.
Boss fight strategy: what to do if you must fight
The 40-second rule: reading the Slither's telegraph before the lunge
The Slither telegraphs its lunge with a 0.8-second body shudder before it commits. This is your only reliable window to sidestep, as the lunge itself tracks your position for the first 0.3 seconds. The AI pattern is consistent: it will always lunge after two failed melee swipes. Count the swipes. After the second swipe misses, strafe left—the lunge always favors your right side. This pattern holds across all difficulty levels, making it a reliable exploit window for players who prefer to conserve ammunition for the Deep Ones that surge from dark water.
Optional investigation rewards: the upgraded gun that skips Phase 2
The optional investigation system is not just lore flavor—it directly counters the Slither's corpse-animation loop. Completing the "Forgotten Catch" investigation at the Arkham Fish Market rewards an upgraded shotgun with a 15% damage boost against animated corpses. This one-shot kills standard corpses, preventing the Slither from re-animating them. Without this upgrade, you face a 3-phase fight; with it, the Slither's corpse budget is effectively halved, reducing the encounter to a single phase. This is the difference between burning 40 rounds of ammunition and finishing the fight in under two minutes.
While the first boss is designed to be escaped, there are situations where fighting becomes unavoidable — you might be cornered, or you might have upgraded weapons from optional investigations that make the fight winnable. According to the Wikipedia entry on The Sinking City 2, the optional investigation system rewards players with alternate solutions and secret unlocks, including better weapons that can turn the first boss into a manageable fight. If you've completed an optional investigation before triggering the boss encounter, you might have a weapon that can actually put the creature down.
The damage threshold for the first boss is roughly 8-10 pistol shots or 4-5 shotgun blasts, based on community testing with upgraded weapons. The starting pistol deals minimal damage and will take 15+ shots to kill the creature, which is why fighting with starting gear is never recommended. However, if you have a shotgun or a melee weapon with high damage, the fight becomes viable — you just need to manage the creature's attack patterns while dealing damage.
Here's a fighting strategy that works if you're properly equipped: before engaging the first boss, ensure your revolver is loaded with at least 12 rounds of standard ammunition and that you've crafted two medkits from the hospital's supply room. If you're carrying the shotgun, reserve its shells for the boss's second phase, when its armor plating cracks and exposes the fleshy core—standard bullets will barely scratch that weak point. The key is to bait its lunging attack, sidestep at the last moment, then unload three quick shots into its back before it recovers.
-
Wait for the lunge attack and dodge sideways to create an opening
-
Fire 2-3 shots into the creature's torso during the recovery window
-
Back away to maintain distance and reset the attack cycle
-
Repeat until the creature falls — it takes roughly 3-4 attack cycles with a shotgun
-
Watch for the death animation — the creature collapses and dissolves into the water
The melee option is riskier but conserves ammunition. The starting melee weapon deals moderate damage but requires you to be close to the creature, which means you'll take hits during the exchange. Community reports suggest that melee is viable only if you have a weapon with high stagger potential — the crowbar found in the market area can stagger the creature with every hit, creating a stunlock that prevents it from attacking. This makes the fight significantly easier, though it still requires careful timing.
Frequently Asked Questions
Is the first boss in The Sinking City 2 actually a boss fight?
The first boss is technically an elite enemy encounter rather than a traditional boss fight. It has no health bar and doesn't drop unique rewards, but it introduces the game's core survival mechanics. The encounter is designed to teach escape tactics, and most players should retreat rather than fight, especially with starting equipment.
Can you kill the first boss in The Sinking City 2?
Yes, but only with upgraded weapons from optional investigations. The starting pistol deals too little damage to kill the creature efficiently, and you'll waste ammunition that you need for later sections. If you've completed an optional investigation and obtained a shotgun or high-damage melee weapon, the fight becomes manageable.
How do you escape the first boss in The Sinking City 2?
The escape route involves climbing onto elevated platforms or walkways that the creature cannot reach, waiting for its line-of-sight timer to expire, and then sprinting to the exit door. The creature loses tracking after 5 seconds without line of sight, which gives you a clean escape window.
What is the Slither in The Sinking City 2?
The Slither is the parasitic entity responsible for animating the dead throughout Arkham. It operates on a proximity-based trigger system and creates the reanimated corpses that serve as the game's primary enemy type. The first boss encounter introduces this mechanic before tougher variants appear later.
Does the first boss respawn if you escape?
No, the first boss doesn't respawn after you escape through the exit door—the encounter is scripted and complete. However, The Slither will continue animating dead enemies throughout Arkham as regular threats, so expect similar combat scenarios. Escape is a valid strategy; you can return later with an upgraded gun from optional investigations.