
Locations
The Sinking City 2 locations guide — every flooded Arkham district, the hospital, the fish market, underground routes, shortcuts, and where to find supplies and secrets.
Introduction
The Locations hub is your map to flood-ravaged Arkham in The Sinking City 2. The city is a Roaring '20s port town buckling under a supernatural flood, its Art Deco streets and dark speakeasies slowly drowning beneath the rising water. You will navigate the central districts on foot, cross flooded thoroughfares by skiff, push through a hospital where science hides its face, brave a fish market where the merchandise bites back, and descend deep underground where eldritch horrors stir. Knowing the geography is a survival tool in itself: shortcuts unlock behind collapsed seawalls, safe points and workbench locations shape your expeditions, and the flooded waterline hides both secrets and threats. This category breaks down each district, marks the key landmarks, and explains the routes that let you move across the city with confidence.
District Overview
| District | Landmarks | Danger | Best For |
|---|---|---|---|
| Central Arkham | Art Deco streets, speakeasies | Moderate | Routes & supplies |
| The Hospital | Flooded wards | Extreme | Investigations |
| The Fish Market | Hostile merchants | High | Loot & secrets |
| The Underground | Deep tunnels | Extreme | Endgame routes |
District Cards
Central Arkham
The Roaring '20s heart of the city — Art Deco streets, dark speakeasies, and the safest ground for learning the layout.
The Hospital
A hospital where science hides its face — flooded wards hold investigation content and serious threats.
The Fish Market
A fish market where the merchandise bites back — high danger, reliable loot and secrets.
The Underground
Descend deep below the city where eldritch horrors stir — the most dangerous and most rewarding routes.
Core Mechanics
Navigation in The Sinking City 2 is a core survival mechanic. You travel on foot through the flooded streets and by skiff across the deeper water, and every route you learn is a resource saved. Shortcuts unlock behind collapsed seawalls as the flood reshapes the city, opening new paths between districts that skip ambushes and dangerous crossings. Safe points and workbench locations are scattered through the districts, and knowing where they are shapes how far you are willing to push before turning back. The city is semi-open — more focused than the 2019 original's sprawling world, but still large enough that a good mental map pays off. Boarded parlors hide secrets, flooded basements hide supplies, and the underground routes connect the deep parts of the map where the most dangerous encounters and the best rewards both wait.
Advantages
A good map is one of the strongest survival tools in The Sinking City 2. Knowing which districts are safe, where the shortcuts are, and where the nearest safe point sits lets you plan expeditions that waste no time and no ammunition. The Hospital and the Underground are extreme-danger zones that demand preparation, but they also hold some of the game's best investigation content and rewards. Understanding the seawall shortcuts means you can move between districts without crossing the most dangerous water. And because the flooded city hides secrets in boarded parlors and flooded basements, the players who explore systematically find far more supplies and upgrade materials than those who follow only the main path. Location knowledge converts wasted wandering into efficient, rewarding progress.
Challenges
Arkham in The Sinking City 2 is a punishing place to get lost. The flooded streets look alike in the dark, the waterline hides threats, and an unplanned detour can drain ammunition and healing before you reach your objective. The extreme-danger zones — the Hospital and the Underground — can be brutal for players who arrive unprepared, and the semi-open structure means it is easy to wander past an important landmark without realizing it. Because the flood reshapes routes as you progress, a map that was safe early may not be later, and some shortcuts only open after the water rises. Getting your bearings takes time and patience, which is exactly why our location guides focus on landmarks, danger ratings, and the routes that connect them.
FAQ
How do I get around flooded Arkham?+
What is the most dangerous district?+
Where do I find supplies and secrets?+
Quick Tips
Unlock shortcuts early. They open behind collapsed seawalls as the flood rises, and each one you unlock skips an ambush or a dangerous crossing — a shortcut is worth more than any single supply crate you might find by pushing through the water. The city is a resource in itself, and the player who maps the shortcuts and safe points turns every district into an asset rather than a hazard.
Mark the safe points before you explore. The save system shapes risk, and knowing where you can rest and resupply determines how far you can push into a district before the retreat becomes a death sentence. A planned route through dangerous ground is worth more than any single item you might find by wandering, because it costs no ammunition and no health.
Treat the Hospital and the Underground as planned expeditions, not detours. Bring ammunition and healing for a fight, know your escape route, and do not wander into the extreme-danger zones on a whim — their rewards are real, but so are their threats. The players who explore Arkham systematically, checking every boarded door and flooded basement, consistently out-supply the ones who rush the story.
Check every boarded parlor and flooded basement. The city hides its secrets in the places most players walk past, and the supplies and lore you find there compound across a full playthrough. Every district has a rhythm — its threats, its landmarks, its rewards — and learning that rhythm is what makes the extreme-danger zones survivable.
Featured
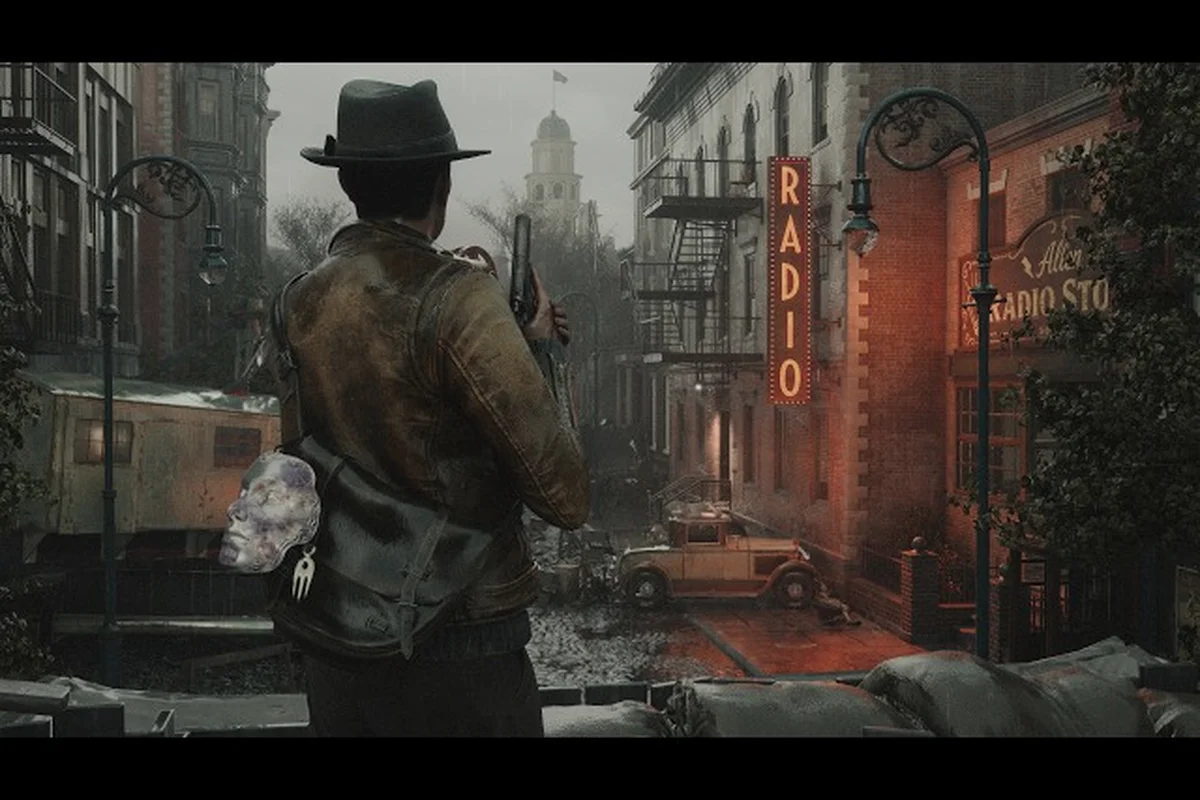
The Sinking City 2 map guide: landmarks and safe routes
Navigate every flooded district with The Sinking City 2 map guide. Discover safe routes, hidden areas, and key landmarks across Arkham's tide-stained streets.

The Sinking City 2 district guide: zone-by-zone breakdown
Navigate every flooded district in Arkham with The Sinking City 2 district guide, from safe houses to Deep One territory, hidden areas, and skiff routes.
The Sinking City 2 fish market: Deep One territory map
Navigate the flooded fish market, once a trade hub now overrun by Deep Ones. Learn skiff docking spots, safe routes, and how to explore this district in Arkham.
All Articles
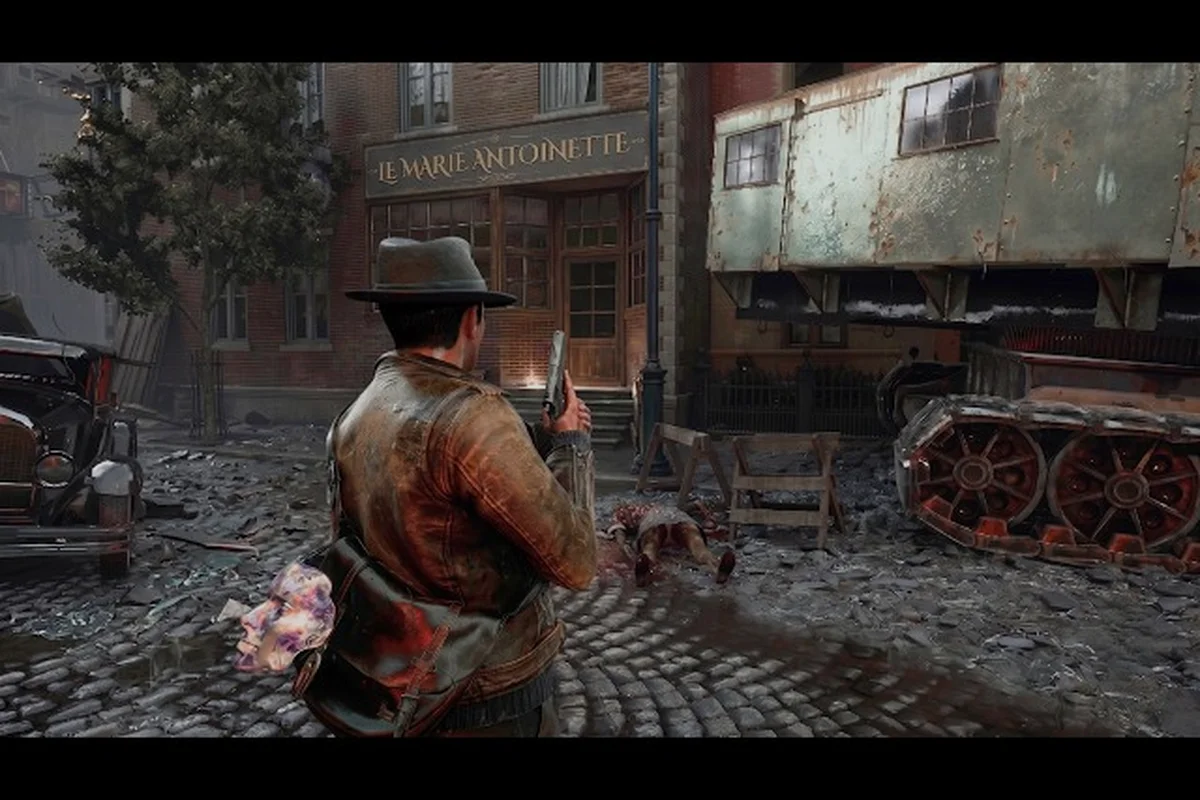
The Sinking City 2 rooftop routes: fastest paths to hospital
Master The Sinking City 2 rooftop routes to skip flooded streets and reach the hospital fast using abandoned building paths and shortcut routes.
The Sinking City 2 safe room locations: workbenches
Find every safe room in Arkham with workbench and supply locations. Learn where to rest, craft ammo, and stash loot as you survive the supernatural flood.
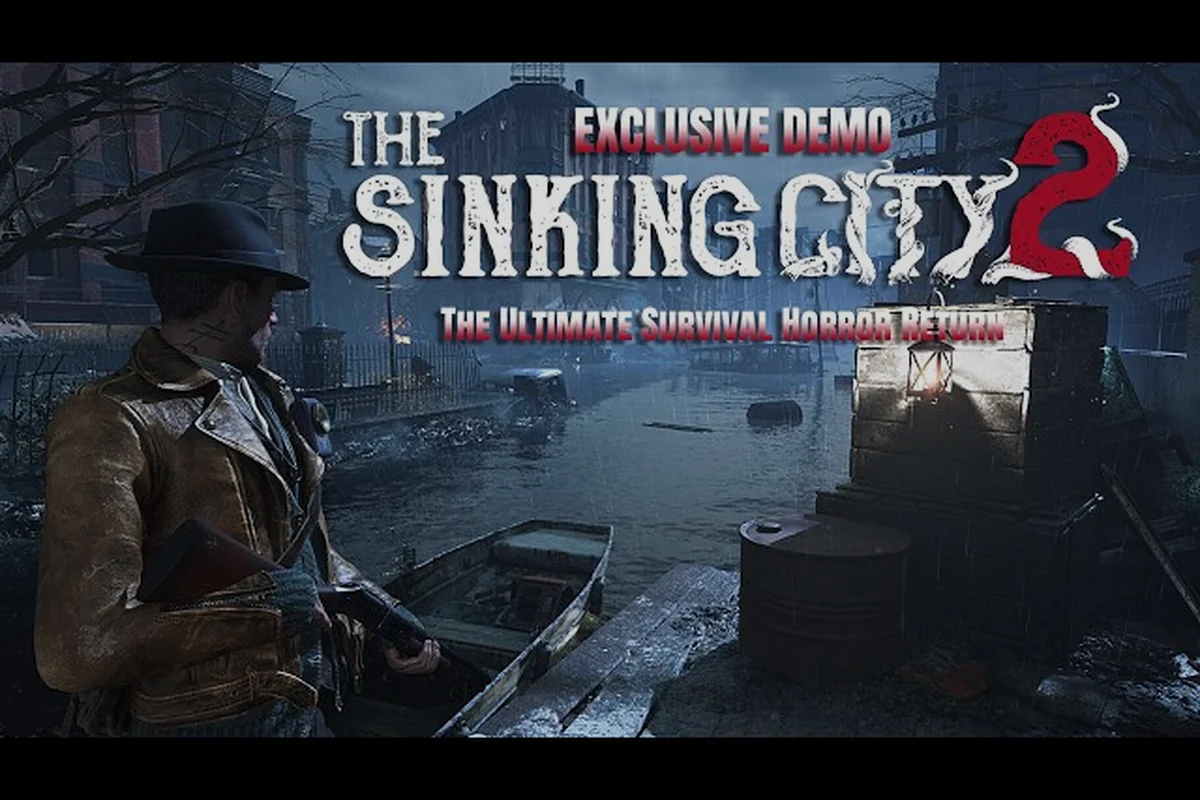
The Sinking City 2 secret room locations: skiff upgrades
Uncover The Sinking City 2 secret room locations, from boarded parlors to collapsed seawalls, and find hidden loot, skiff upgrades, and checkpoints.
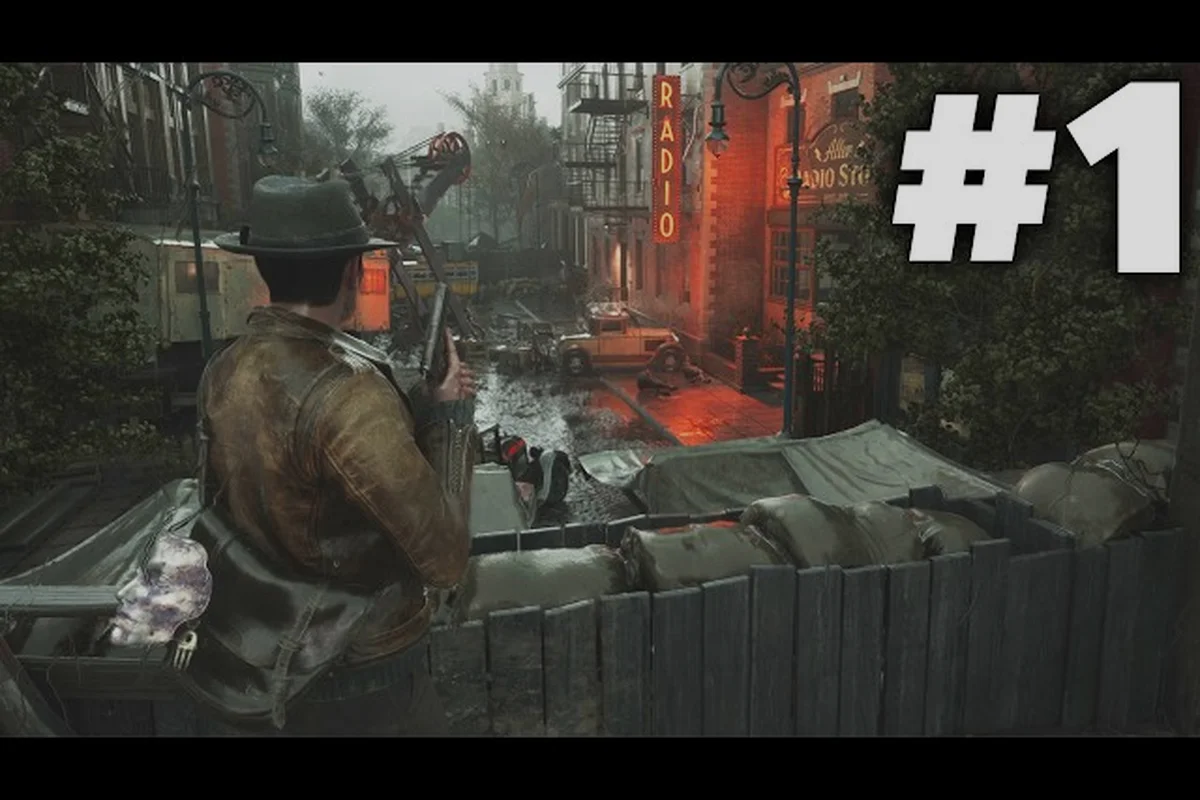
The Sinking City 2 speakeasy location: reach the docks
Track down the speakeasy hidden beneath Arkham in The Sinking City 2 speakeasy location guide, and follow sewer routes to the docks past Deep Ones.