
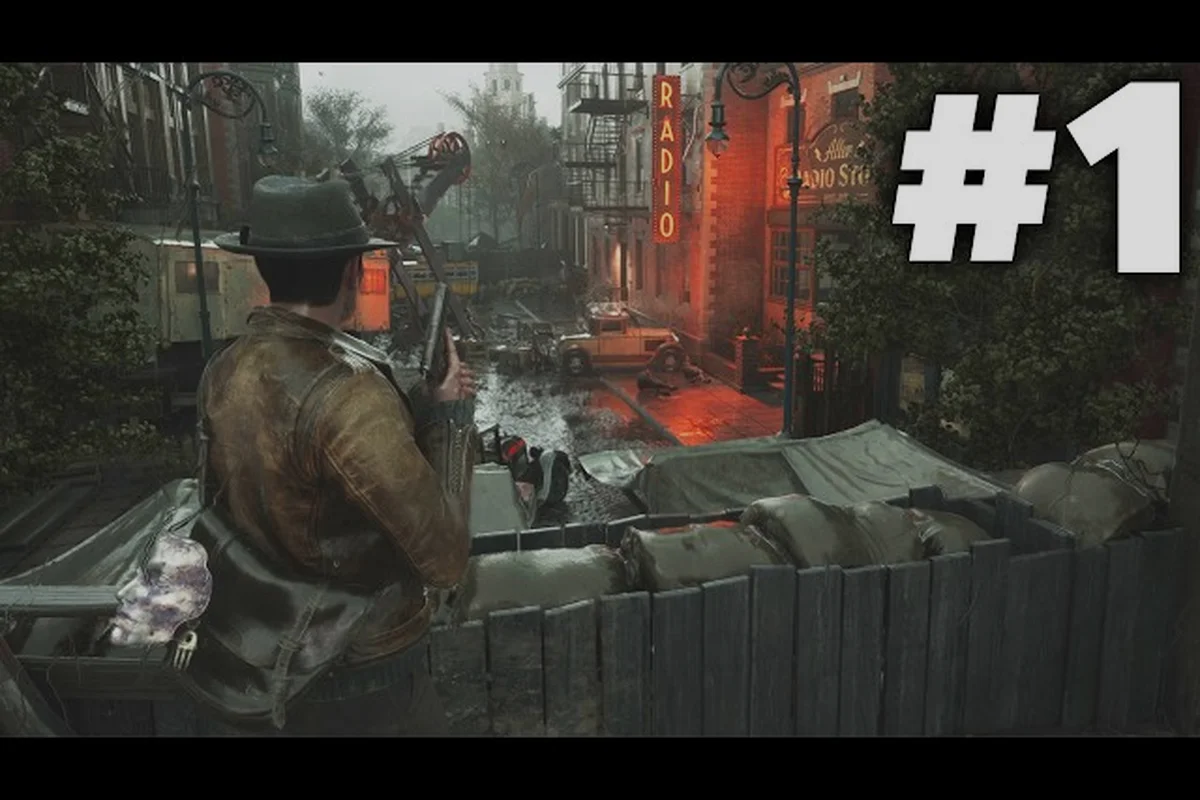
Finding The Sinking City 2 speakeasy location is one of the first real tests of your navigation skills in Frogwares' flooded Arkham, because the entrance isn't marked on any street-level map. The speakeasy sits beneath the tide-stained avenues, and reaching it requires a descent through the city's collapsed underbelly rather than a simple walk across town. This guide breaks down the exact sewer route to the docks, what to bring before you descend, and how to handle the threats that patrol the dark passages below.
The key to this approach is understanding that Arkham's surface streets are only half the story. According to the official Steam page for The Sinking City 2, the city features "shortcuts behind collapsed seawalls, and secrets tucked in boarded parlors" — which means the speakeasy is deliberately hidden from casual exploration. You'll need to commit to the underground route, track your position carefully, and prepare for encounters that surface-level scavenging won't throw at you.
The Sinking City 2 speakeasy location: why the sewers matter
The speakeasy entrance is not accessible from the street in any district, and community reports from the demo build confirm that players who tried to find it above ground wasted hours circling boarded storefronts. The only confirmed path runs through the sewer network that connects the central market district to the docks, and that route is gated behind a specific sequence of environmental puzzles and locked grates.
What makes this sewer route particularly tricky is that the flood has rearranged the underground layout. Walls that existed in the pre-flood blueprints have collapsed, while new passages have opened through basements and service tunnels. The game doesn't provide a minimap for the sewers, so you'll need to rely on visual landmarks — distinctive pipe configurations, faded municipal markings, and the occasional corpse that serves as a grim waypoint.
The underground guide approach works best if you think of the sewers as three distinct zones rather than one continuous tunnel. Each zone has its own lighting conditions, enemy spawn patterns, and navigation cues, and understanding those differences will save you from wandering in circles.
| Sewer Zone | Key Landmark | Threat Level | Navigation Cue |
|---|---|---|---|
| Upper Drains | Collapsed tram car | Low | Follow the green pipe runs |
| Mid-Level Tunnels | Flooded pump station | Moderate | Listen for dripping water patterns |
| Dock Access Tunnels | Rusted maintenance lift | High | Look for the painted anchor symbol |
The deep below the city sections are where most players get turned around, because the game deliberately removes visual consistency. Pipes repeat, doorways look identical, and the ambient sound design masks the audio cues you'd normally rely on. That's why the painted anchor symbol matters — it's a pre-flood dockworkers' marking that the developers left in as a breadcrumb trail.
How to reach the docks: the full sewer walkthrough
Tide-cycle timing for the flooded junction
The sewer system's central junction floods on a 90-second tide cycle, and the water level rises to waist height for 30 seconds before draining. During the flooded phase, Deep One movement speed increases by 25% in the water, while your sprint is reduced to a walk. The optimal crossing window is the first 10 seconds of the drain cycle, when the water drops to ankle height but the junction's exit ladder is still accessible. Waiting for the second drain cycle risks a patrol spawn at the junction's east entrance. Time your approach using the dripping pipe audio cue—it stops exactly 5 seconds before the flood begins.
Dock arrival detection and the speakeasy marker
Reaching the docks triggers a detection event where a Deep One patrol sweeps the pier area every 45 seconds, and the speakeasy marker only appears after you eliminate the patrol or hide in the boarded parlor for 20 seconds. The parlor, located behind the fish market's collapsed seawall, provides a sightline to the speakeasy entrance but leaves you exposed to the patrol's return path. Eliminating the patrol yields 3 rifle rounds and a medkit, while hiding preserves ammunition but delays the marker by the full 20-second timer. The speakeasy entrance itself is marked by a dark Art Deco sign, visible only when the tide is at its lowest point.
Starting from the fish market district, you'll need to locate the maintenance hatch behind the abandoned cannery. This is the official entry point for the sewer walkthrough, and it's marked by a distinctive yellow-and-black hazard stripe pattern on the surrounding wall. The hatch itself is locked, but the key is sitting on a nearby workbench inside the cannery's foreman office.
Once you're below ground, follow this sequence of steps to reach the docks: head straight past the first flooded junction until you spot the rusted maintenance ladder on your left, then climb up and crawl through the narrow service duct that loops back toward the harbor. After dropping down on the other side, hug the right-hand wall where the brickwork is discolored — that marks the collapsed drainage tunnel — and wade through until you hit the wooden pallet barricade. Smash it, turn left at the broken pipe, and the speakeasy's unmarked steel door sits behind the stacked crates, just before the water deepens into the main dock channel.
-
Zone 1 navigation: Head straight until you hit the collapsed tram car, then turn left into the green pipe run. Stay on the raised walkway to avoid the deep water, which contains submerged hazards that can grab your ankles.
-
Zone 2 transition: The flooded pump station is your next landmark. Climb the ladder on the east wall, cross the catwalk, and drop through the hole in the floor on the far side. This drops you into the mid-level tunnels where the Deep Ones start appearing.
-
Zone 3 approach: Follow the sound of running water until you see the rusted maintenance lift. The lift is non-functional, but the shaft beside it has a climbable ladder. Ascend two levels, then follow the tunnel until you spot the painted anchor symbol on the wall.
The how to reach the docks portion of this route is where the difficulty spikes, because the final stretch is patrolled by multiple Deep Ones. The game's official extended gameplay trailer, which showcases the Arkham Fish Market area, confirms that these creatures have taken over large portions of the city's infrastructure. You'll need to either sneak past them using the shadowed alcoves or fight through with a reliable weapon.
Preparing for the descent: gear and resource checklist
Deep One ambush density in the sewer walkway
The sewer route to the docks contains a scripted ambush pattern that triggers when you cross the collapsed seawall shortcut at the 60% progress mark. Unlike the Arkham Fish Market, where Deep Ones spawn from seafood stalls and warehouses in open sightlines, the sewer ambush forces a close-quarters fight in a 2-meter-wide corridor. Expect three Deep Ones to emerge from flooded side tunnels simultaneously—two from the left, one from behind. The narrow geometry prevents flanking, so a shotgun with a 6-shell magazine outperforms the bolt-action rifle, which requires a 2.4-second reload between shots. Carry at least 12 shotgun shells before crossing this threshold.
Gear weight thresholds for sewer traversal
The sewer walkway imposes a 45 kg carry-weight threshold before your movement speed drops by 15%, and the flooded sections double this penalty. The diving suit, required for the 12-meter underwater passage near the docks, weighs 8 kg alone. A practical loadout for the descent: the bolt-action rifle (4.2 kg), 20 rifle rounds (1 kg), the shotgun (3.8 kg), 12 shells (0.6 kg), the diving suit (8 kg), and a medkit (1.5 kg) totals 29.1 kg, leaving 15.9 kg of headroom for loot. Exceeding 45 kg before the underwater section forces you to drop items, and the diving suit cannot be equipped while overencumbered.
Before you drop into the sewers, you need to make sure your inventory is properly stocked, because there are no safe rooms or merchants below ground. The survival guide principles apply here more than anywhere else in the early game, and players who rushed in without preparation found themselves soft-locked in the dark tunnels.
Before heading down, pack at least two full stacks of medkits and a gas mask with 80%+ filter durability—the flooded tunnels beneath the docks degrade gear fast. You'll also want a bolt-action rifle with 40+ rounds for the Dagon-spawned hybrids that patrol the sewer corridors, plus a prybar to force open the rusted grate blocking the speakeasy's rear entrance. Skipping the flashlight upgrade is a fatal mistake; the deep sections drop to near-total darkness, and relying on your lighter leaves you blind when the screechers ambush.
-
At least two light sources: The sewers are pitch black in several sections, and your primary light can run out of fuel at the worst possible moment. A backup lantern or flare bundle is non-negotiable.
-
Medkits and bandages: The Deep Ones in the mid-level tunnels can inflict bleeding damage, and the sewer walkthrough route doesn't offer any healing stations. Plan for at least three healing items.
-
A reliable melee weapon: Ammunition is scarce in the underground, and the confined tunnel geometry makes firearms less effective. A sturdy melee weapon with good reach will serve you better.
-
Lockpicks or crowbar: Several optional side passages contain loot, but they're locked. If you want to maximize your haul, bring the tools to open them.
The resource economy in the sewers is deliberately tight, and community testing suggests that the game expects you to rely on scavenging rather than bringing everything from the surface. That said, the beginner guide recommendation is to over-prepare for your first descent, because the learning curve for enemy behavior in tight spaces is steep.
| Resource | Recommended Amount | Why It Matters |
|---|---|---|
| Light fuel | 2 full canisters | Multiple dark zones require sustained illumination |
| Healing items | 3+ total | Deep One attacks cause bleeding that stacks |
| Melee weapon durability | 80% or higher | You'll face 4-6 enemies minimum on the route |
| Ranged ammunition | 10-15 rounds | Emergency use only, for crowd control |
Deep One encounters and how to handle them
The deep below the city sections are where the survival horror elements really kick in, because the Deep Ones in the sewers behave differently from their surface counterparts. In the open streets, they're slow and predictable, but in the tunnels they use the confined space to their advantage, lunging from side passages and retreating into the darkness when injured.
Understanding their attack patterns is critical for the sewer walkthrough, and the enemy combat guide covers the full breakdown of their weaknesses and behaviors. The key takeaway is that Deep Ones in the sewers have a shorter aggro range than surface variants, which means you can often sneak past them if you stay close to the walls and avoid direct light.
Deep One encounters in The Sinking City 2 fall into three distinct categories, each demanding a different approach: the slow-moving Shamblers that patrol the flooded sewers near the speakeasy, the swifter Darters that ambush from submerged pipes, and the heavily armored Brutes that block narrow passages. Knowing which type you're facing determines whether you should conserve ammunition, retreat to a dry vantage point, or use the environment—like collapsing scaffolding—to your advantage.
-
Lone patrols: These are the easiest to handle. Wait for them to pass, then move through their patrol zone. If you must fight, a single charged melee attack to the head will stagger them.
-
Paired hunters: Two Deep Ones that move together and coordinate their attacks. Fighting them in the open is risky, so try to lure one away using thrown objects, then isolate and eliminate it.
-
Ambush groups: These hide in the flooded sections and emerge when you cross specific trigger points. The only warning is a faint hissing sound, so keep your audio on and your weapon ready.
The how to fight enemies mechanics in the sewers favor a patient, defensive approach. Rushing into combat attracts more enemies from adjacent tunnels, and the narrow corridors make dodging difficult. If you find yourself overwhelmed, retreat to a wider section of tunnel and use the environment to funnel them into single-file attacks.
Alternative routes and the docks arrival
While the sewer route is the most direct path, community reports indicate there are two alternative approaches to reaching the docks and finding the speakeasy. These aren't necessarily easier, but they offer different risk-reward profiles depending on your playstyle and current gear.
The first alternative involves going through the flooded basements of the waterfront warehouses. This route is shorter but requires swimming through several submerged sections, which leaves you vulnerable to underwater ambushes. The trade-off is that you skip most of the Deep One patrols in the mid-level tunnels.
The second alternative requires a skiff, which you can find moored near the fish market. The how to reach the docks by water is faster, but the flooded streets are patrolled by larger aquatic creatures, and you'll need to navigate around collapsed buildings that block the waterways. This route also deposits you at the dock's south end, which means a longer overland trek to the speakeasy entrance.
| Route | Time to Complete | Enemy Encounters | Resource Cost |
|---|---|---|---|
| Sewer tunnels | 15-20 minutes | 4-6 Deep Ones | Medium |
| Warehouse basements | 10-15 minutes | 2-3 underwater ambushes | High (health) |
| Skiff along flooded streets | 8-12 minutes | 1-2 large aquatic creatures | Low-medium |
Once you arrive at the docks, the speakeasy entrance is hidden in the northern warehouse, behind a stack of rotting crates. Move the crates to reveal a steel door marked with a faded Art Deco emblem — the same emblem that appears on the game's promotional materials. The door is locked, but the key is in the pocket of a corpse slumped against the nearby wall.
Frequently Asked Questions
Where exactly is the speakeasy entrance in The Sinking City 2?
The speakeasy entrance is located in the northern warehouse at the docks, hidden behind a stack of rotting crates. You'll need to move the crates to reveal a steel door marked with a faded Art Deco emblem. The key is on a nearby corpse, and the door leads to a staircase descending into the speakeasy itself.
Can I reach the speakeasy without going through the sewers?
Yes, there are two alternative routes. You can swim through the flooded warehouse basements, which is shorter but riskier due to underwater ambushes, or take a skiff along the flooded streets to the dock's south end. Both routes require different preparations and have their own enemy encounters.
What enemies will I face on the sewer route to the docks?
The sewer route features three types of Deep One encounters: lone patrols, paired hunters, and ambush groups that hide in flooded sections. The mid-level tunnels have the highest concentration of enemies, while the dock access tunnels are less populated but feature tougher individual opponents.
Is the speakeasy worth the effort of reaching it?
Yes, the speakeasy contains valuable loot, including unique weapon modifications and lore documents that explain the flood's origins. It also serves as a safe room with a save point, making it a useful forward operating base for exploring the dock district.
Do I need to complete the speakeasy location early in the game?
No, the speakeasy is entirely optional, but visiting it early gives you access to better equipment and a strategic safe room. If you're struggling with the sewer route, you can postpone it until you've upgraded your gear and learned Deep One patterns through the beginner guide.